1. Measure the Rice
Use the included measuring cup to add up to 10 cups of your preferred rice type (white rice, basmati, risotto, sushi rice, etc.) into the inner pot.
2. Rinse the Rice
Rinse the rice thoroughly under cold water to remove excess starch for fluffier results.
3. Add Water
Fill the inner pot with water according to the rice type and quantity. Refer to the markings inside the pot or the user manual for guidance.
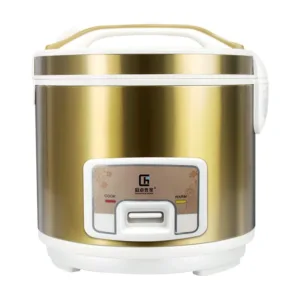
4. Place the Pot
Insert the inner pot into the rice cooker. Make sure the outside of the pot is dry and the pot is properly seated on the heating plate.
5. Close the Lid
Secure the lid to ensure even cooking and safety.
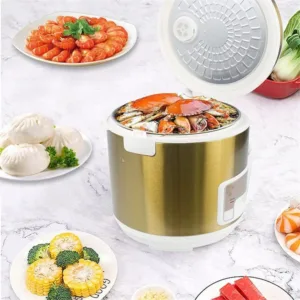
6. Select the Cooking Function
Turn on the rice cooker and select the appropriate function. For basic rice cooking, choose the standard “Cook” mode.
7. Automatic Cooking Begins
The cooker will start automatically. Thanks to built-in overheat protection and boil-dry protection, it operates safely without risk of damage.
8. Keep Warm Mode
Once the rice is cooked, the rice cooker will automatically switch to Keep Warm mode, maintaining the rice at an ideal serving temperature for hours.
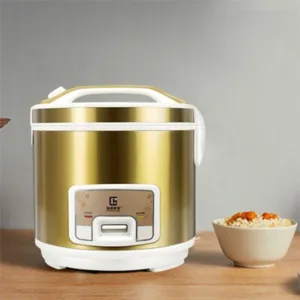
9. Serve and Enjoy
Open the lid carefully (beware of steam), fluff the rice with a spoon or paddle, and enjoy!
10. Cleaning After Use
Unplug the rice cooker, let it cool, then remove and clean the inner pot and lid with warm soapy water. Never immerse the main unit in water.


